
How to install a flush-to-wall door
A flush-to-wall door is not fitted: it is built together with the wall. The frame goes in first, not afterwards.
È la differenza che spiazza chi ci arriva da una porta normale, e vale sia sul cartongesso sia sulla muratura. Qui sotto ci sono le fasi nell’ordine in cui vanno eseguite, trascritte dallo schema che diamo ai nostri installatori. Il documento le presenta in twelve panels for each version: two of the twelve are not operations; they show the push model and the pull model.
If, on the other hand, your door is a pocket sliding door, la sequenza è un’altra e comincia molto prima: c’è una guida dedicata, con il controtelaio e l’anta.
Two things to know before you open the box
In both versions the structure is prepared around the door, with the frame already in hand. You do not build the wall and then cut the opening into it.
Opening direction: it depends on the model
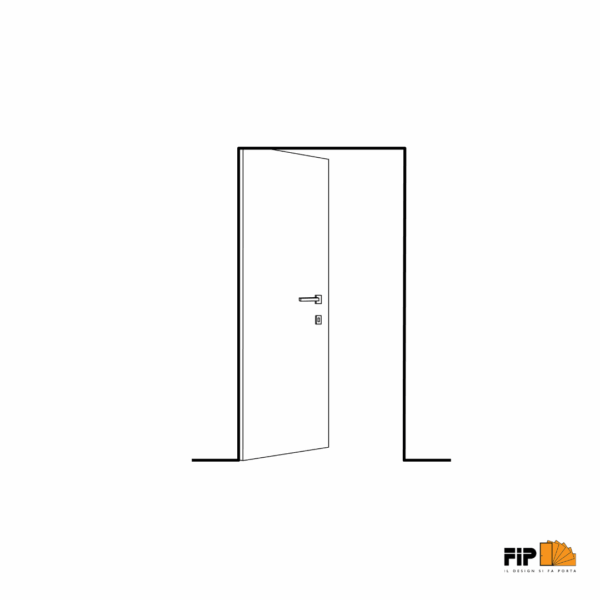

Sull’Article 220 il modello a spingere e quello a tirare sono due schemi distinti, e il verso va deciso all’ordine.
Sull’Art. 220 RME EasyWall it is not: the data sheet explicitly states that the same door can be installed both push-open and pull-open, left- or right-handed. If you are not sure which of the two you have on site, ask us before you start.
The recess is built around the actual frame
È il motivo per cui il filomuro si ordina all’inizio dei lavori e non alla fine: serve il telaio, non le misure del vano.
Le misure a catalogo partono dall’esterno telaio: da 67 to 97 cm sull’Art. 220, da 70 to 100 cm sull’EasyWall. Sono nella product line page.
Drywall partition
Nine operations, from the frame in its recess to the finished wall.
-
Prepare the structure
Fit the drywall studs around the door, forming the recess that will take the frame.
-
Set the door with its frame in the recess
Balance the door on a wedge, leaving 6 mm above the floor. È la stessa quota che serve poi per registrare le cerniere: l’anta non deve mai lavorare appoggiata al pavimento.
-
Metti a piombo e prova l’apertura
Before fixing anything, plumb it and start testing opening and closing. Whatever does not work now will not work later either, once the wall is closed.
-
Screw the frame to the structure
Fix the frame to the studs with self-drilling screws.
-
Screw the boards onto the edge of the frame
The drywall boards are screwed up against the edge of the frame: this is where the continuity between leaf and wall begins.
-
Complete the wall
Close the whole wall, not just the area around the opening.
-
Fill between frame and drywall
Using a ready-mixed filler paste: our installation diagram specifies Polyfilla F200.
-
Paint both faces together
The document recommends that you pitturare entrambi i lati dell’anta contemporaneamente. Non è una questione di tinta: un pannello verniciato prima da un lato e poi dall’altro assorbe umidità in modo diseguale e tende a imbarcarsi.
-
Adjust the hinges
L’ultima operazione, e si fa a parete finita. C’è una dedicated guide.
Il punto di non ritorno è l’operazione 5. Once the boards are screwed against the frame, the wall has to be reopened to work on the frame again. All plumb and opening checks must be completed beforehand.
On drywall, no mesh is used: quella appartiene alla versione in muratura, dove serve a legare l’intonaco al telaio.
Masonry wall
Nine operations. The whole fixing method changes, and three things appear that are not used on drywall: spacers, wall anchors and mesh.
-
Position the frame with the spacers
The aluminum frame is installed with the stiffening spacers, which hold its shape while everything else sets.
-
Set the door with its frame in the recess
Balance the door on a wedge, leaving 6 mm above the floor: the same clearance as in the drywall version. Then plumb the door.
-
Set the wall anchors
Fix the frame to the masonry by setting the wall anchors in mortar, avendo l’accortezza di provare il funzionamento della porta while you do it.
-
Apply the mesh supplied
Lay it overlapping the aluminum frame and the masonry: è ciò che impedisce all’intonaco di creparsi lungo la giunzione. In questa fase servono piccoli aggiustamenti.
-
Fill between frame and masonry
Using the same ready-mixed filler paste: here too the diagram specifies Polyfilla F200.
-
Leave the spacers in place until the cement is dry
The document specifies twelve hours. Removing the spacers earlier means letting the frame move while the cement sets, and on a flush door a single millimeter shows.
-
Skim the walls flush with the frame
The skim coat must be applied following the plaster line set by the frame: it is the frame that sets the level, not the wall.
-
Paint both faces together
As with drywall: entrambi i lati dell’anta contemporaneamente, so that it does not warp.
-
Adjust the hinges
They adjust on three axes, once the wall is finished. The procedure is in the adjustment guide.
Il punto di non ritorno è l’operazione 3. Once the wall anchors are set, the frame stays where it is. That is why the document insists on testing how the door works while the anchors are being set, not afterwards.
Adjustments are made once the wall is finished
A flush-to-wall door is all about alignment: even one millimeter out of place shows. But the fine adjustments are not made during installation; they are made afterwards, on the hinges and on the strike plate.
Write to us before you start
The pocket sliding door ha una guida sua. Restano i casi che qui non ci sono: telaio già murato, spessori fuori standard, vani irregolari. Dicci com’è fatta la parete e a che punto è il cantiere, e ti mandiamo lo schema giusto prima che qualcuno stenda l’intonaco.